Studying abroad is a dream for many students . But the biggest confusion for most is — should I apply through an agent or do it myself? Many people think applying for a study visa is too complicated to handle alone, but here’s the truth: you don’t really need an agent if you know the right steps.
Applying on your own can actually save you money , give you full control over your documents, and make your application look more genuine. In this guide, I’ll explain how to get a study visa without using an agent — step by step — in simple language anyone can follow.
Why you don’t always need an agent
Agents can be helpful, but they also charge high fees and sometimes mislead students just to earn a commission. Some even submit fake documents that can get your visa rejected .
When you apply yourself, you understand your case better. You’ll know every detail about your admission, visa process, and future rights as a student. It’s also much easier now because almost every university and embassy has online portals and clear guidelines.
Let’s go through the complete process so you can apply confidently — all by yourself.
Step 1: Choose your country and course
The first thing is deciding where and what you want to study. Don’t just follow trends or friends — research which country matches your academic goals and financial situation.
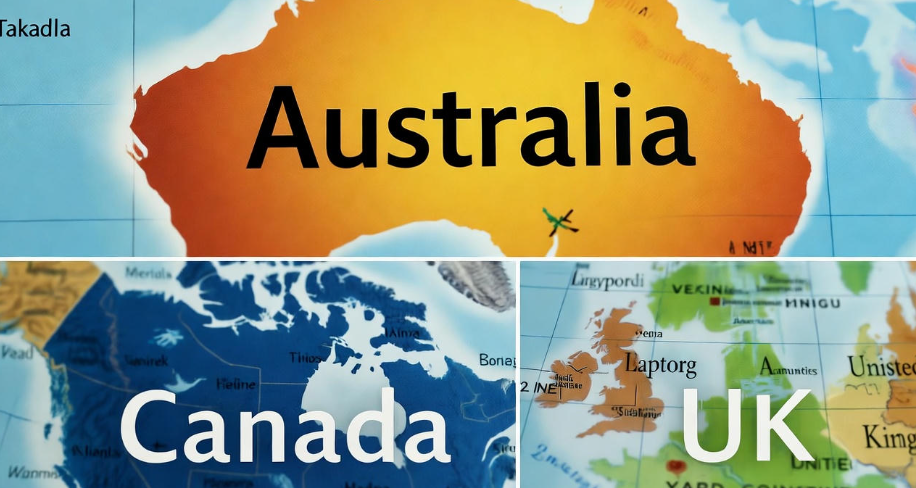
Here’s a simple table to compare popular study destinations:
| Country | Key Benefits | Visa Approval Rate | Part-time Work Allowed |
|---|---|---|---|
| Canada | Post-study work permit, PR options | High | 20 hrs/week |
| Australia | Safe environment, easy work rules | Moderate | 24 hrs/week |
| UK | 2-year post-study visa | High | 20 hrs/week |
| Germany | Free or low tuition | High | 20 hrs/week |
| USA | Top universities, research focus | Moderate | Limited (depends on visa type) |
Pro tip: Choose a country that matches your academic background and language skills. For instance, if you studied in English medium schools, countries like Canada or UK are good fits.
Step 2: Research and shortlist universities
Go to the official websites of universities — not random websites — to find courses that match your interests. Look for:
-
Admission requirements
-
Application deadlines
-
Tuition fees
-
Scholarships for international students
Almost every university has a section called “International Admissions”. Read it carefully. Universities like to see that you’ve researched them directly.
If you have doubts, you can email their admission office — they reply to international students all the time.
Step 3: Prepare your documents
Before applying, make sure all your documents are ready. Missing or wrong documents are one of the biggest reasons for visa rejections.
Here’s a checklist you can follow:
| Document | Purpose |
|---|---|
| Passport | Must be valid for at least 6 months |
| Academic transcripts | Proof of past studies |
| English test results (IELTS/TOEFL) | To show language ability |
| Offer letter from university | Confirms admission |
| Statement of Purpose (SOP) | Explains your study goals |
| Bank statements | To show financial capability |
| Medical reports | Some countries require health checks |
| Visa application form | Filled correctly with all details |
Take your time here. Review every paper twice. Mistakes in this step can cause unnecessary delays.
Step 4: Apply for admission yourself
Go to the official website of your chosen university and click on “Apply Now” or “Online Application.” You’ll usually need to:
-
Create an account
-
Upload documents
-
Pay the application fee
-
Wait for your conditional or unconditional offer
Once you get the offer, read the terms carefully. Some offers are conditional, meaning you’ll need to submit missing documents or pay a small deposit before it becomes final.
Step 5: Arrange your finances
This step is very important. You must show proof that you can afford tuition and living expenses.
You can do this by:
-
Showing bank statements (usually 3–6 months history)
-
Providing a sponsorship letter if someone else is funding you
-
Showing scholarship or loan approval
Some countries, like Canada and Germany, require you to open a blocked account — a special bank account that holds your living expense money for the year.
Step 6: Write a strong Statement of Purpose (SOP) ✍️
Your SOP is your voice in the application. It tells the visa officer why you want to study this course, in this country, and what your goals are afterward.
Write it in simple, natural English. Don’t copy from the internet — they can easily detect that.
Here’s a short structure you can follow:
-
Introduce yourself and your academic background
-
Explain why you chose your specific course and university
-
Describe how the course fits your career goals
-
Mention your plans after graduation (for example, returning to your home country)
Keep it around 800–1000 words and make it sound honest and personal .
Step 7: Pay your tuition deposit
After your admission is confirmed, most universities ask for a small tuition deposit (like 20–50% of first semester fees).
This confirms your seat and allows the university to issue a Letter of Acceptance (LOA) or Confirmation of Enrolment (CoE) — documents you’ll need for your visa application.
Step 8: Apply for your visa
Now comes the main part — applying for your study visa. Every country has its own process, but here’s the general flow:
-
Visit the official immigration website of that country (never use fake links).
-
Create your account and fill out the online visa form.
-
Upload required documents.
-
Pay the visa fee online.
-
Book your biometrics appointment (if required).
-
Wait for the result.
Make sure all your answers are truthful and match your previous documents. Immigration officers cross-check everything carefully.
Step 9: Attend your visa interview (if required)
Some countries like the USA require an interview. Don’t panic! Just prepare your answers naturally.
You may be asked questions like:
-
Why did you choose this course?
-
How will you finance your studies?
-
What are your plans after graduation?
Keep your tone polite and confident. Remember — they’re not trying to fail you; they just want to make sure your intention is genuine.
Step 10: Book your flight and get ready ✈️
Once your visa is approved (congratulations ), it’s time to prepare for travel.
You should:
-
Arrange your accommodation (check university dorms or shared apartments).
-
Book your flight early for cheaper prices.
-
Keep your passport, admission letter, and visa in hand luggage.
-
Inform your university about your arrival date.
Also, double-check COVID or vaccination rules before departure (some countries still have travel requirements).
✈️ Planning to study in 2025? Discover the Fastest Countries for Student Visa Approval.
How much money can you save by applying yourself?
Here’s a quick cost comparison
| Process | Through Agent | Applying Yourself |
|---|---|---|
| Application Fee | Included + extra service cost | Only university fee |
| Visa Guidance | Paid per country | Free via official website |
| SOP Writing | Paid service | Free if you write it yourself |
| Overall Savings | $500–$2000 | You save it all |
Tips to make your self-application successful
✅ Always follow the official websites only (universities or embassies).
✅ Keep all your documents scanned in PDF format.
✅ Double-check deadlines — late applications often get rejected.
✅ Join student groups on Facebook or Reddit to learn from others.
✅ Never lie or use fake documents — it can lead to a lifetime visa ban.
✅ Keep copies of all email confirmations and receipts.
Common mistakes students make when applying alone
-
Submitting incomplete applications
-
Confusing admission and visa processes
-
Not checking email regularly
-
Ignoring embassy updates
-
Writing poor SOPs or copying samples
Avoid these and your chances of success will increase drastically.
Benefits of applying without an agent
✨ You save a lot of money
✨ You understand your application deeply
✨ You avoid fraud and fake promises
✨ You become more confident and independent
✨ Your profile looks more genuine to visa officers
When you manage your own documents and interviews, it shows responsibility — a trait immigration officers love to see.
FAQs about applying for a study visa without an agent
Q1: Is it really possible to get a study visa without an agent?
Yes, absolutely. Thousands of students apply directly every year. You just need to follow official guidelines carefully.
Q2: What if I make a mistake in my online form?
Most portals allow you to edit or resubmit before final submission. If not, you can email the embassy’s support team.
Q3: Do universities help if I get stuck in the process?
Yes, many universities have international student offices that guide applicants for free.
Q4: Is my visa more likely to be rejected without an agent?
No, not at all. In fact, embassies prefer direct applicants because it shows honesty and initiative.
Q5: How long does the whole process take?
On average, 2–4 months from application to visa approval, depending on the country.
Final thoughts
Getting a study visa without an agent might sound difficult at first, but once you start, you’ll realize it’s completely doable. You’ll learn so much about your course, your future country, and your own strengths along the way.
Always remember: your education journey is personal — don’t let anyone else control it.
By applying yourself, you not only save money but also gain confidence that will help you throughout your international education and beyond ✨.
Would you like me to make this version fully SEO-optimized (meta title, descr