
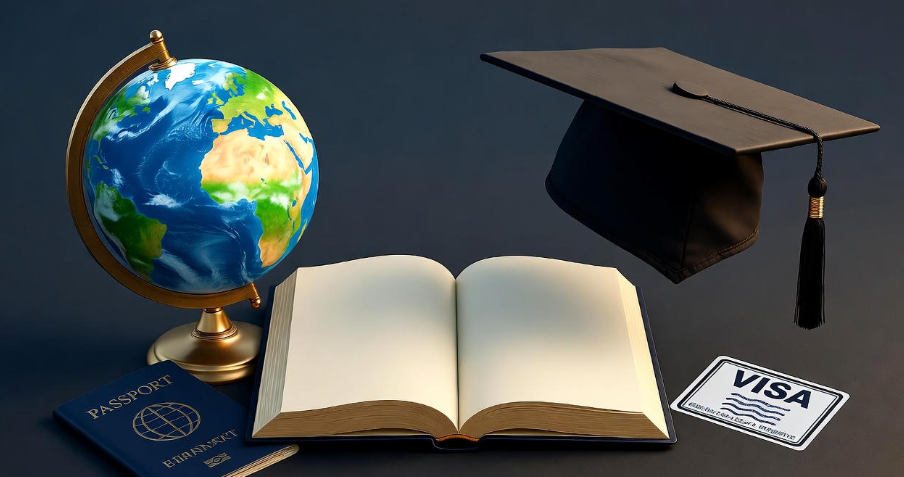
Studying abroad is an exciting dream for millions of students every year. The thought of learning in a new country, meeting people from all over the world, and exploring a new culture sounds amazing, right? But before you pack your bags, there’s one big thing standing between you and your university abroad — the student visa.
Getting your visa approved isn’t just about filling out forms. It’s about showing that you are serious, organized, and ready for your international journey. If you’re not careful, even a small mistake can delay or even ruin your entire plan. So, here’s a simple and complete guide with practical visa tips every international student should know — written in plain English and explained like a friend would.
Know your visa type before applying
This might sound obvious, but a lot of students start the process without really knowing which visa they need. Each country has different visa categories for students — and applying for the wrong one can cause unnecessary rejection.
Here’s a small table to make it easier
| Country | Common Student Visa Type | Duration | Special Notes |
|---|---|---|---|
| USA | F-1 (Academic), M-1 (Vocational) | Length of study | F-1 allows part-time work on campus |
| UK | Tier 4 (Student Visa) | Course duration | Must show proof of English proficiency |
| Canada | Study Permit | Course duration + 90 days | Can apply for post-graduation work permit |
| Australia | Subclass 500 | Course duration | Allows dependents and work rights |
| Germany | Student Visa (Visum Zu Studienzwecken) | Duration of course | Need blocked bank account proof |
Before applying, always check your country’s official immigration website. Never rely only on social media posts or random agents — rules change often!
Apply early — don’t wait till the last minute ⏰
One of the biggest reasons students miss their intake is because they wait too long to start their visa process.
Here’s the thing: visa processing can take anywhere from 3 weeks to 3 months depending on the country and season. Applying early gives you enough time if there’s an interview, additional documents needed, or unexpected delays.
Pro Tip: Start the visa process as soon as you receive your admission letter from your university. Even if you haven’t got your final transcript yet, you can start preparing your documents in advance.
Organize your documents properly
Consulates and embassies love organized applications. Having missing or unclear documents is one of the most common reasons for rejection.
Here’s a checklist of commonly required documents (though it can vary by country):
✅ Valid passport (with at least 6 months validity)
✅ Offer/Admission letter from the university
✅ Proof of tuition fee payment or financial support
✅ Recent passport-sized photographs
✅ Statement of Purpose (SOP)
✅ Academic transcripts and certificates
✅ Proof of language proficiency (IELTS, TOEFL, etc.)
✅ Medical test results (if required)
✅ Proof of accommodation or housing arrangements
✅ Visa application form and fee receipt
Simple tip: Put everything in a folder in the same order as mentioned on the embassy’s checklist. Use sticky notes to label each document — it makes things look tidy and professional.
Be honest about your intentions
During your visa interview (if required), honesty is everything. Visa officers are trained to detect fake or rehearsed answers. You don’t need to act overly confident — just be genuine and clear.
Instead of memorizing lines, talk naturally about:
-
Why you chose that specific country or university
-
What you plan to study
-
How your course connects with your career goals
-
How you’ll manage your living expenses
They want to know that you’re a real student, not someone who’s trying to migrate for work without proper permission.
Show strong financial stability
Every country wants to make sure you can pay your tuition and living costs. The proof can be shown in several ways:
-
Bank statements
-
Scholarship letters
-
Sponsor’s income documents
-
Education loan approval
Most embassies ask to see funds that can cover at least one year of tuition and living expenses. For example:
| Country | Minimum Required Funds (Approx.) |
|---|---|
| USA | $25,000 – $35,000 per year |
| UK | £1,334/month (London), £1,023/month (outside London) |
| Canada | CAD 10,000 – 12,000 per year |
| Australia | AUD 24,000 per year |
| Germany | €11,208 (Blocked Account) |
Tip: Avoid fake financial documents. They can permanently ban your future visa chances. Always show genuine and traceable proof.
Prepare well for your visa interview ️
Not all countries require interviews, but if yours does — this part matters! Here’s what you can do:
⭐ Dress smartly — simple and neat.
⭐ Smile and stay calm — don’t rush answers.
⭐ Know your course and university — visa officers may ask questions like “Why did you choose this program?” or “What’s your plan after graduation?”.
⭐ Be clear about your intent to return home after studies — this shows you are not misusing the visa.
Example question:
“What are your plans after graduation?”
You can answer naturally like:
“I plan to return home and apply my skills in the software industry. The degree will help me get a better job and contribute to my field.”
Keep digital and physical copies of all documents
This may sound small, but losing your documents abroad can be a nightmare. Always keep scanned copies of your passport, visa, admission letter, and insurance saved in your email or Google Drive.
Also, keep two printed sets — one in your hand luggage and one in your suitcase.
If your documents get lost, these copies can save you from big trouble at the airport or embassy.
Don’t depend entirely on agents
Education consultants and visa agents can help, but don’t give them full control. Many students face problems because they don’t even know what was written on their visa forms — sometimes wrong data or fake documents are submitted without their knowledge.
Be involved. Read every form yourself before signing. Visit the official embassy website for correct updates. You’ll be surprised how many helpful resources are free online.
Be aware of visa scams ⚠️
Unfortunately, many students fall for fake job offers or scholarship promises that lead to visa scams. Always double-check email addresses — official embassies never use Gmail or Yahoo accounts.
If someone promises a “guaranteed visa” or “special connections”, it’s 100% fake. Embassies don’t work like that. Your application is judged only on merit and documents.
Follow post-arrival visa rules
Getting a visa is not the end of the story. Once you reach your study destination, you must follow all visa regulations — like attendance, working hours, and address updates.
For example:
-
In the USA, F-1 students can work only 20 hours/week during classes.
-
In Canada, international students can work up to 24 hours/week (as of new rules).
-
In Australia, student visa holders must maintain full-time enrollment and meet academic progress.
If you break these rules, your visa can be canceled even before your graduation. So always stay updated through your university’s international office.
Maintain a clear academic record
Your student visa is tied to your academic progress. If you fail courses or skip attendance, it might trigger a visa review. Always attend classes regularly and inform your university in case of medical or family emergencies.
Pro Tip : Even if your country allows work, don’t overdo part-time jobs. Focus on your studies — your degree is your best investment.
Stay calm during visa delays or rejections
Sometimes, even after doing everything right, visas get delayed or rejected. It’s okay. Don’t panic. Read the reason carefully in the rejection letter — it often mentions what went wrong. You can correct it and reapply.
Many successful students got their visas approved the second time. So, don’t lose hope — just fix the issue and try again with a positive attitude.

Common mistakes to avoid during the visa process ❌
| Mistake | Why it’s a problem | How to fix it |
|---|---|---|
| Incomplete forms | Causes rejection | Double-check before submission |
| Fake or unclear bank statements | Leads to permanent ban | Always use real, verified documents |
| Late application | Misses intake deadlines | Apply early (2–3 months in advance) |
| Rehearsed interview answers | Looks suspicious | Speak naturally and confidently |
| Lack of financial proof | Visa officer doubts your stability | Prepare proper documents from bank or sponsor |
FAQs – Quick Answers for Students ✨
Q1. How long does a student visa take to process?
It depends on the country. Usually, it takes 3–8 weeks, but during peak seasons, it can go up to 12 weeks. Always apply early.
Q2. Can I work while studying abroad?
Yes, most countries allow limited part-time work — usually 20–24 hours per week during the semester and full-time during breaks.
Q3. Can I travel during my study visa period?
Yes, you can travel during vacations, but always check visa re-entry rules and keep valid documents when returning.
Q4. What happens if my visa expires before graduation?
You must renew or extend your visa before it expires. Universities often assist with this process through their international student office.
Q5. Can my visa be canceled if I fail a course?
Not immediately, but continuous poor performance can lead to visa review. Always inform your university if you face issues.
Final thoughts
Getting a student visa isn’t just about paperwork — it’s a mix of preparation, honesty, and patience. The process may look complicated, but once you stay organized and follow genuine steps, it becomes easier. Think of it like your first test before starting your global journey — and once you pass it, the doors to a whole new world open up for you. ✨
Remember: start early, stay honest, and stay informed.
That’s the real secret to a smooth and successful student visa approval. ✈️